An exercise in reductive design: Building a beautiful API
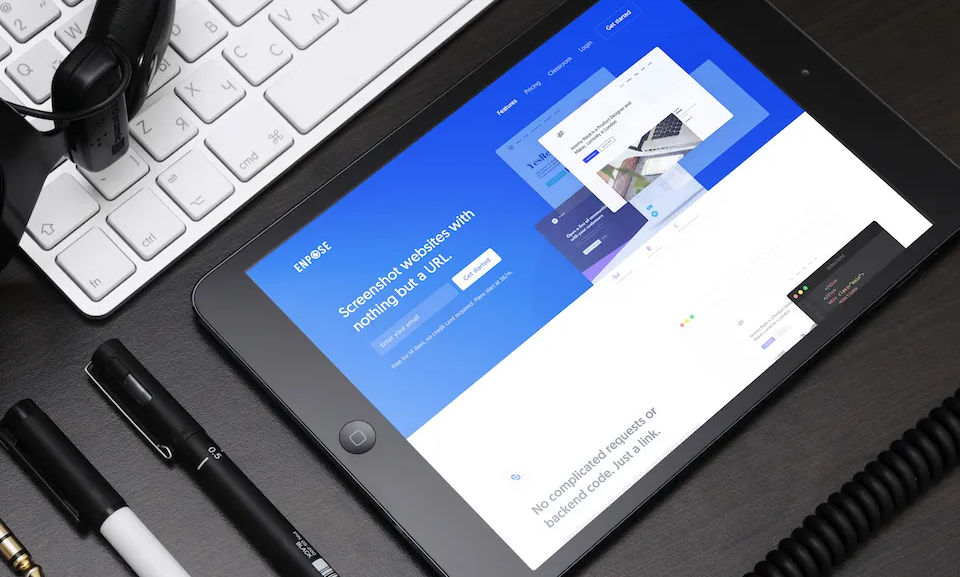
I’ve been hard at work over the last couple of months building a new product called Enpose. It’s a screenshot API. Basically that means it lets you take screenshots of other websites, from your website. It’s pretty handy, actually.
There are lots of similar systems to this around, you might wonder why I bothered spending hours upon hours building yet another. Well, all the previous ones required complex API calls and backend code. I really didn’t think that was necessary, so I built Enpose to be an insanely simple system to use… However, given that APIs are inherently complex things, this was no simple task.
Challenge 1: Capturing screenshots
My desire to build a simpler API came from this:
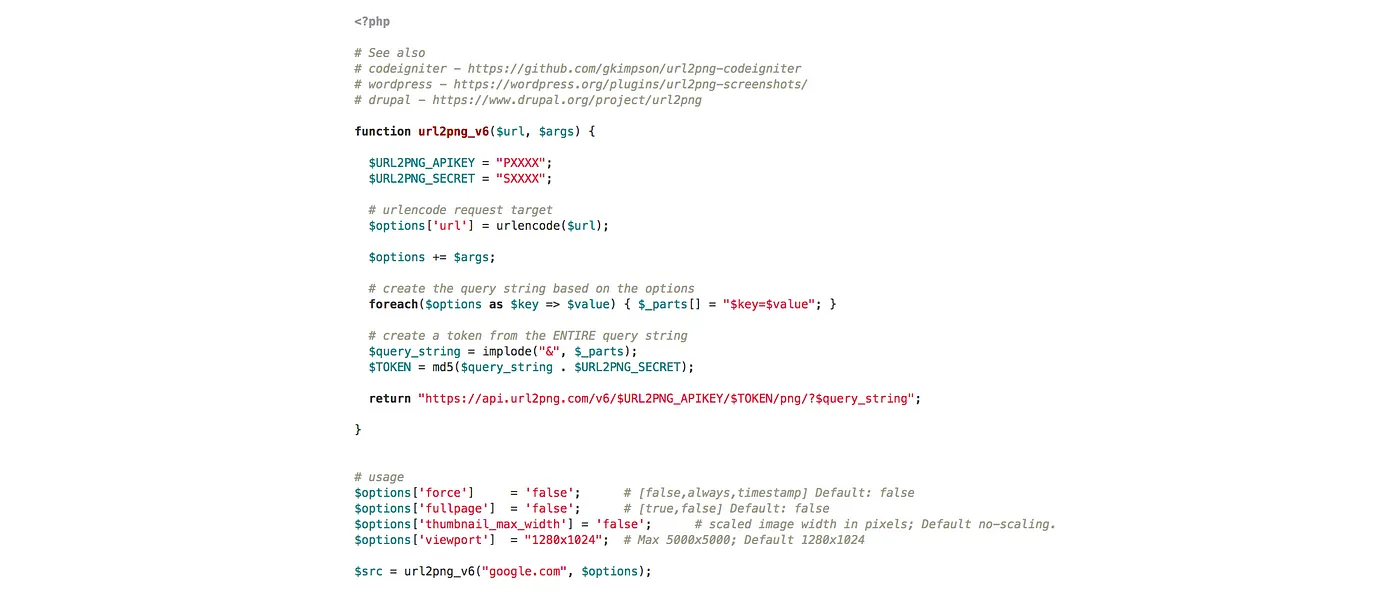
That’s the amount of code required to take one screenshot with URL2PNG (another screenshot API). And that only captures the screenshot. You haven’t actually displayed it on your website yet.
Here’s how much code you need to capture and display a screenshot on a webpage with Enpose:
<img src=”https://e.enpose.co/?key=YOURAPIKEY&url=https://jeremyblaze.com>
You still have heaps of customisability, too:
No API requests, no server-side code, no worrying about keeping API keys secret. It really is just a link.
Challenge 2: Authenticating users
Having come up with a nice and simple method for capturing screenshots, I now have to work out how to secure it so that anybody can’t just run wild with somebody else’s account.
The only way I could think of doing this was to restrict the websites you could screenshot. For example, if I want to screenshot jeremyblaze.com, I need to go to my Enpose dashboard and add it. Now I can screenshot any page on that site.
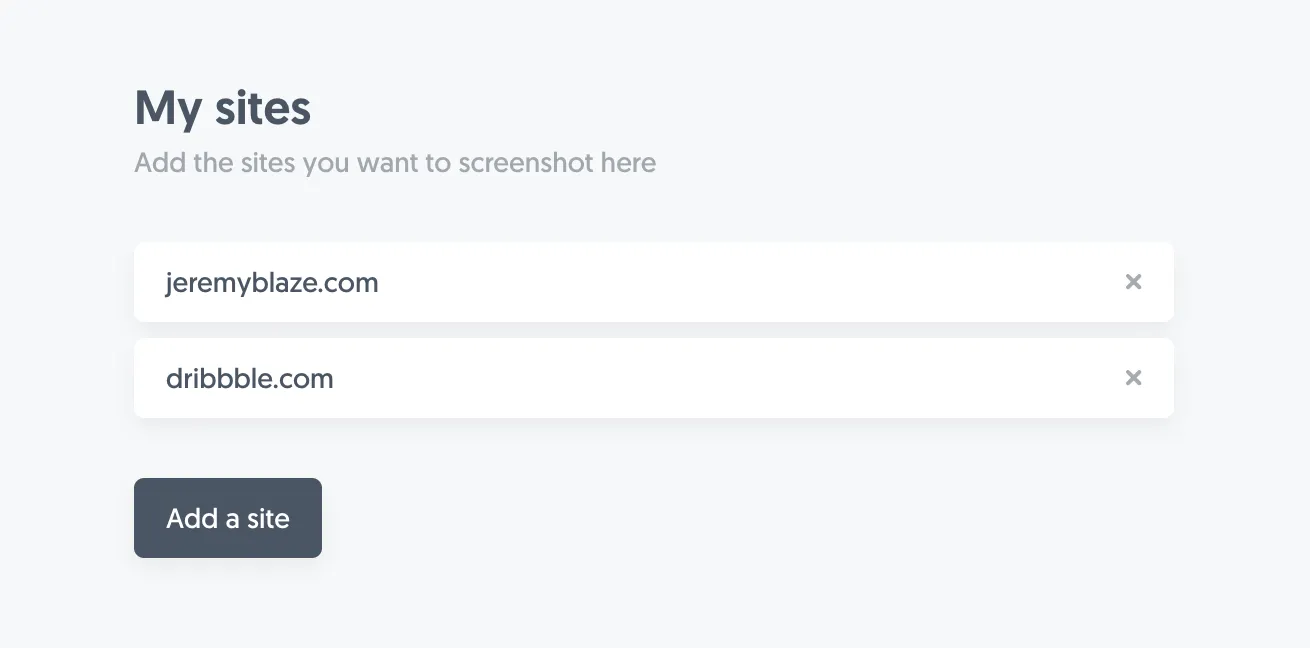
Theoretically, anybody could now screenshot my website… but I’m less concerned about that being abused.
Challenge 3: Limiting usage via a ‘quota’
Enpose has two plans. The first gives you 200 screenshots per day, the second gives you 1000. I needed a way to communicate how far through a their quota a user is. My first solution was this:
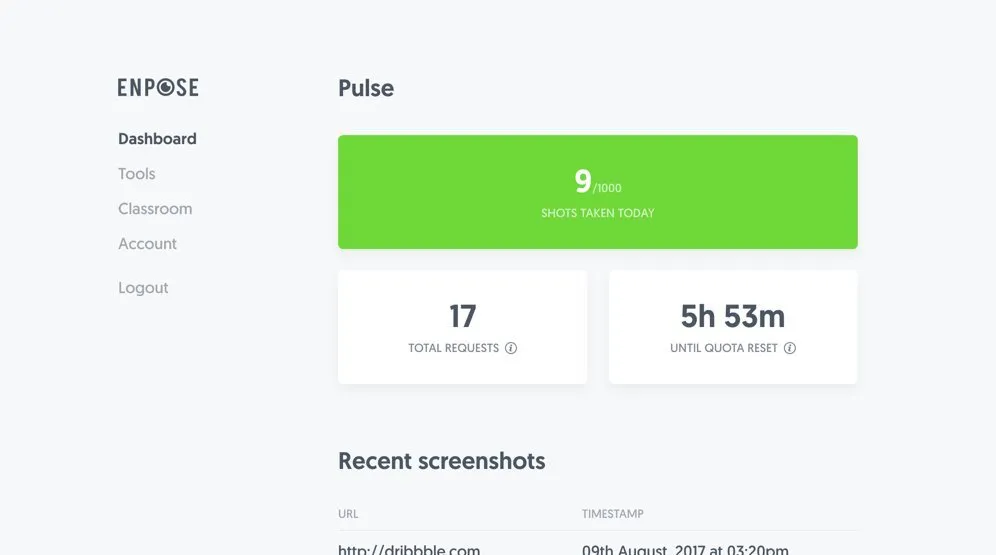
I really wasn’t happy with it. The ‘total requests’ and ‘until quota reset’ boxes were completely confusing and unnecessary. I needed to somehow tell the user when their ‘shots taken today’ reset to 0, hence the ‘until quota reset’ box.
After rethinking things a bit I realised that it’d be far easier to be able to say “You have x screenshots left today”. That single sentence tells the user when the quota refreshes, how many screenshots they’ve taken and how many they have left. Here’s what it looks like:
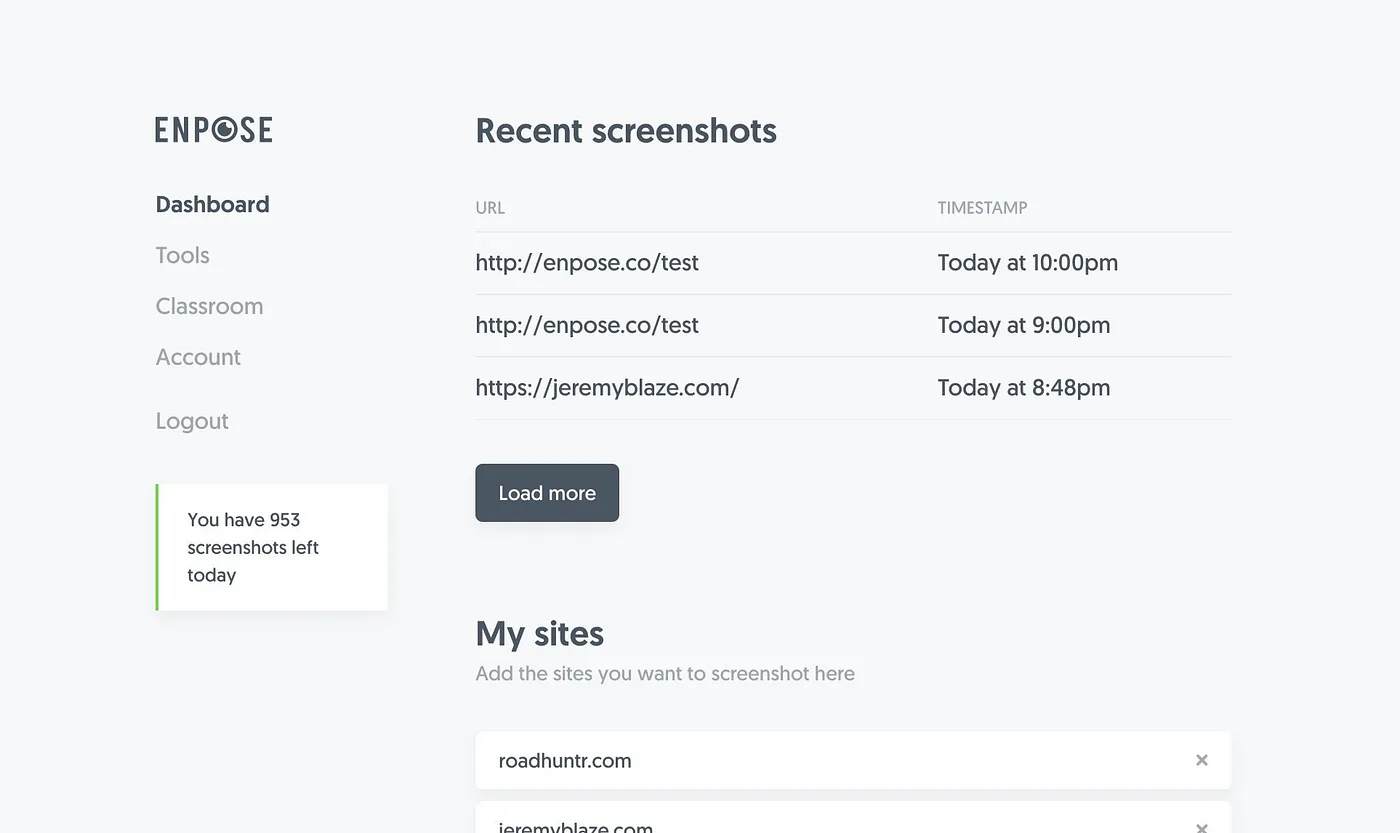
I’m pretty happy with this solution. I’ve ditched showing the number of requests made (that’s the number of times a screenshot was requested, regardless of whether a cached image was delivered or a new screenshot captured). Since requests are unlimited there’s really no point in showing it.
Challenge 4: Explaining how it works
While I might think Enpose is simple, I still need to explain how to use it to other people. The main ‘teaching’ part of Enpose is the onboarding. Straight after signup, I give a step-by-step walkthrough of how to use it. You can watch a video of that further down in this article.
Onboarding
I put a lot of time into thinking through the user onboarding so that new signups would get a good idea of how it works instead of being thrown straight in the deep end. You can watch the full user onboarding flow below:
Even after the onboarding is complete, I’ve left a ‘Quick generate’ box up the top of the dashboard to make it super easy to generate screenshot links after onboarding.
Documentation
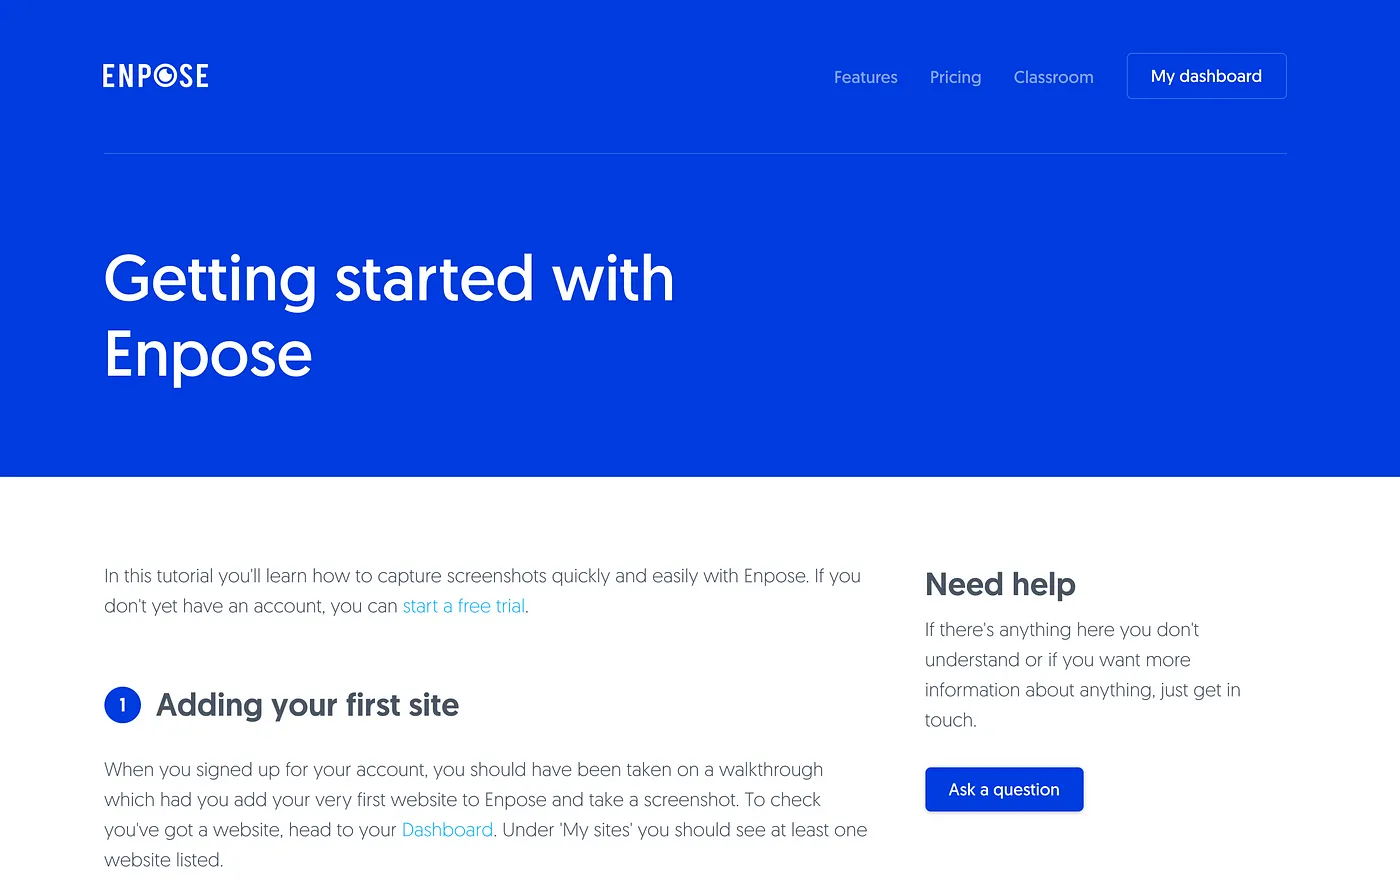
Onboarding only gets you so far. With a product like this, users are likely not to come back often after they’ve done the initial setup, so we can’t rely on the users to remember anything.
The documentation is also dynamic, so if a user is signed in, things like their API key and one of their listed websites are automatically displayed. (Credit for this goes to Stripe who originally came up with the idea).
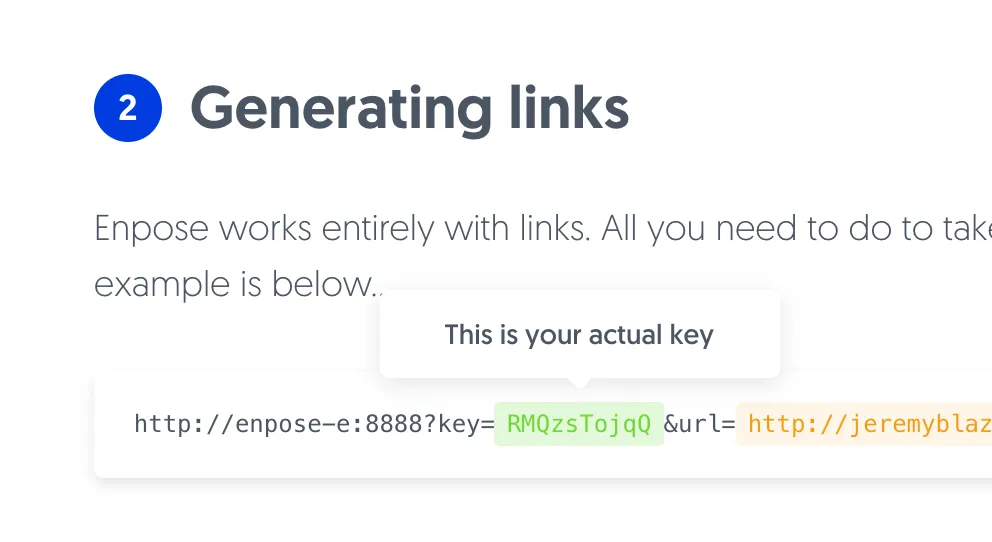
One thing I did to help with this was the ‘Quick generate’ box at the top of the dashboard, but the main part was creating a ‘Classroom’ where the entire system is documented.
You can visit the classroom now if you want to take a look.
It took quite a long time for me to get to the point I was happy with it. Even now, as I’m slowly letting users in, I’m finding new points of weakness and things I want to change.
I’ll be releasing Enpose publicly sometime in the next fortnight. If you want to hear when it goes live, subscribe to my newsletter at the bottom of this page.
If you’d like early access, send me a message on Twitter.

Introducing the all new Marathon – the tool for people who live in Figma

First Make Them Care: The $50B Communication Gap Between Experts and Success

AI Is Offering A New First Step To The Mental Health Journey

After the Interface: Rethinking Design for a World of AI Agents

Hill Has Been Accepted Into The HF0 Residency

Joining Hill As Head of Product
We turned 10 years of product design expertise into the ultimate AI design copilot

Breaking into UX & Product Design: A Guide for New Designers

Adding 'flexible features' to uncover new product opportunities

Introducing Blair, the companion to help you conquer your day

Pushing Through Creative Block: Learning from Artists and Musicians to Reignite Inspiration
We helped Eugen Rochko, founder of Mastodon, fix their onboarding experience

Unlocking Airbnb’s Secret: How SaaS Founders Can Aim For 10 Stars And Win

How to avoid MVP feature creep: The ICE Method
Introducing Mast: The project tool for design teams

Reflecting on my time running a 100-person creative community in the heart of Melbourne

Starting a company during a global pandemic, with Jeremy Blaze on Funemployed

Introducing NOOK: Digital Patron Check-In & Menus to Keep Australia's Hospitality Industry Afloat
Why I’ve started a product design studio

Case Study: Making sense of LIVE carpark availability in UbiPark

Case Study: Embark’s design, launch & early iteration
Enpose has been acquired by ApiLayer, solidifying their position in the screenshot API market
